Every WordPress theme should have a screenshot, even if it is a child theme. In the backend this will be shown to WordPress administrators in the list of available themes. A good screenshot makes the theme easily recognisable, especially if you have a couple of themes installed. And it is nice if you can visually distinguish a child and parent theme. Also it will be shown in the theme directory on wordpress.org, if it is submitted there.
So how can you create a screenshot quickly? And what are the requirements?
According to the theme requirements a screenshot cannot be larger than 1200 x 900 pixels (a 4:3 ratio). This is not a fixed size. You can change the size. For example, if you want to show an image with a 16:9 ratio (1200 x 675 pixels). You can also use a smaller size, like the old default screenshot size of 800 x 600 pixels. Of course a larger picture has more details. So probably you want a big as possible screenshot.
Of course you can use some screenshot tool or your image editor. But I started to use the Firefox developer tools to take screenshots for WordPress themes, because it has a screenshot tool built-in. I use the responsive mode of the tools to select a device. A nice feature is that you can define your own user agent. So I created a "WordPress theme" device with a screen size of 1200 x 900 pixels. This has also the advantage I do not have to lookup the allowed screenshot dimensions, because I always forget what they are.
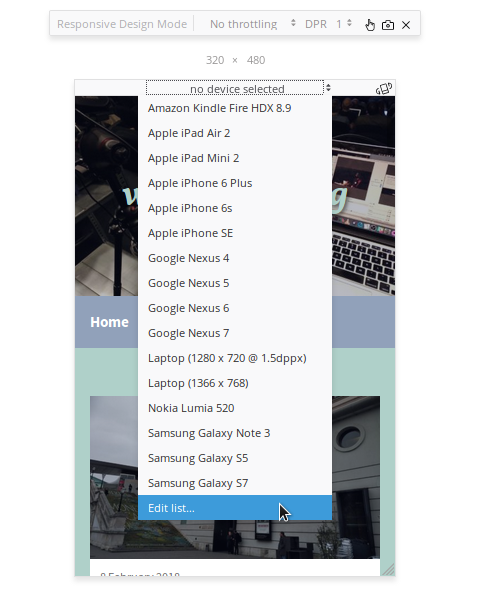
To open the responsive mode use ctrl + shift + m (cmd + shift + m on Mac). Click on the device list and select "Edit list".
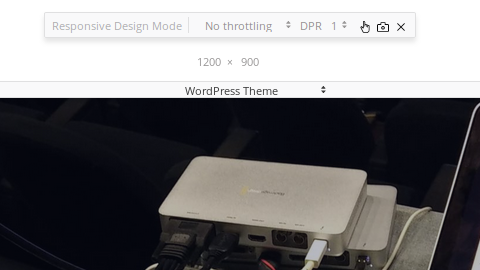
Then click on "Add device". Set the name to "WordPress Theme" and the size to 1200 x 900. You can leave the DPR value set to 1.

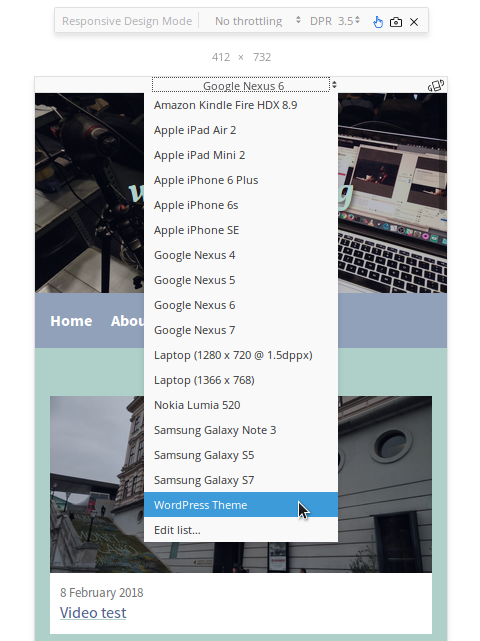
Click the Save button to add the device to the list. Click on "Done" to return to responsive mode. You now can select the "WordPress Theme" device.
To take a screenshot click on the camera icon. The screenshot will be saved in your downloads folder and called something like "Screen Shot 2018-02-11 at 15.53.54.png", containing the date and time of the screenshot. Rename it to screenshot.png and add it to your WordPress theme.
The downside of a big picture is a large file size. Especially if your themes contains photography. Theme screenshots must be saved in the PNG file format. This is a lossless format. The disadvantage is that it isn't very efficient for photos. For a theme I am currently working on the screenshot was 1.2MB. So it makes sense to reduce the file size.
You can try to losslessly optimise PNGs with tools, like:
- ImageOptim (Mac)
- FileOptimzer (Windows)
- Trimage (Linux)
You can also use a command line tool, like optipng.
With Trimage I got the file down to 777KB. A nice saving of 35%, but the file is still quite large.
To reduce the file size further you can also use tools that apply a lossy optimisation. Meaning you will loose some visual quality. The command line tool PNGquant can do this. The quality can be set between 0 - 100. I usually set it to 50. The speed parameter can be set to 1 - 11. I set this to 1. To see all options use pngquant --help.
pngquant --quality 50 --speed 1 --output screenshot-new.png screenshot.png
If you do not want to use the command line, there are some other tools that you can use:
- ImageAlpha (Mac)
- TinyPNG (Web service)
After this step, I usually also do an extra losslessly optimisation. This can save some more bytes. This way I could reduce the file size down to 152KB, saving over 87% with still a good quality.
So go ahead and create some optimised screenshots.